Set your eMTB saddle in one order and the job gets much simpler. Height first, then fore-aft, then tilt, with a final check on height. The three settings aren't independent. Your seat tube is angled, so raising the saddle also carries it backwards, and sliding it forward on the rails quietly takes a couple of millimetres off your effective height. An eMTB also keeps you seated and pedalling up gradients you'd normally walk, so a position that feels fine for ten minutes on the flat has an hour to annoy you on a climb. Work in small steps and judge each change on a climb you already know.
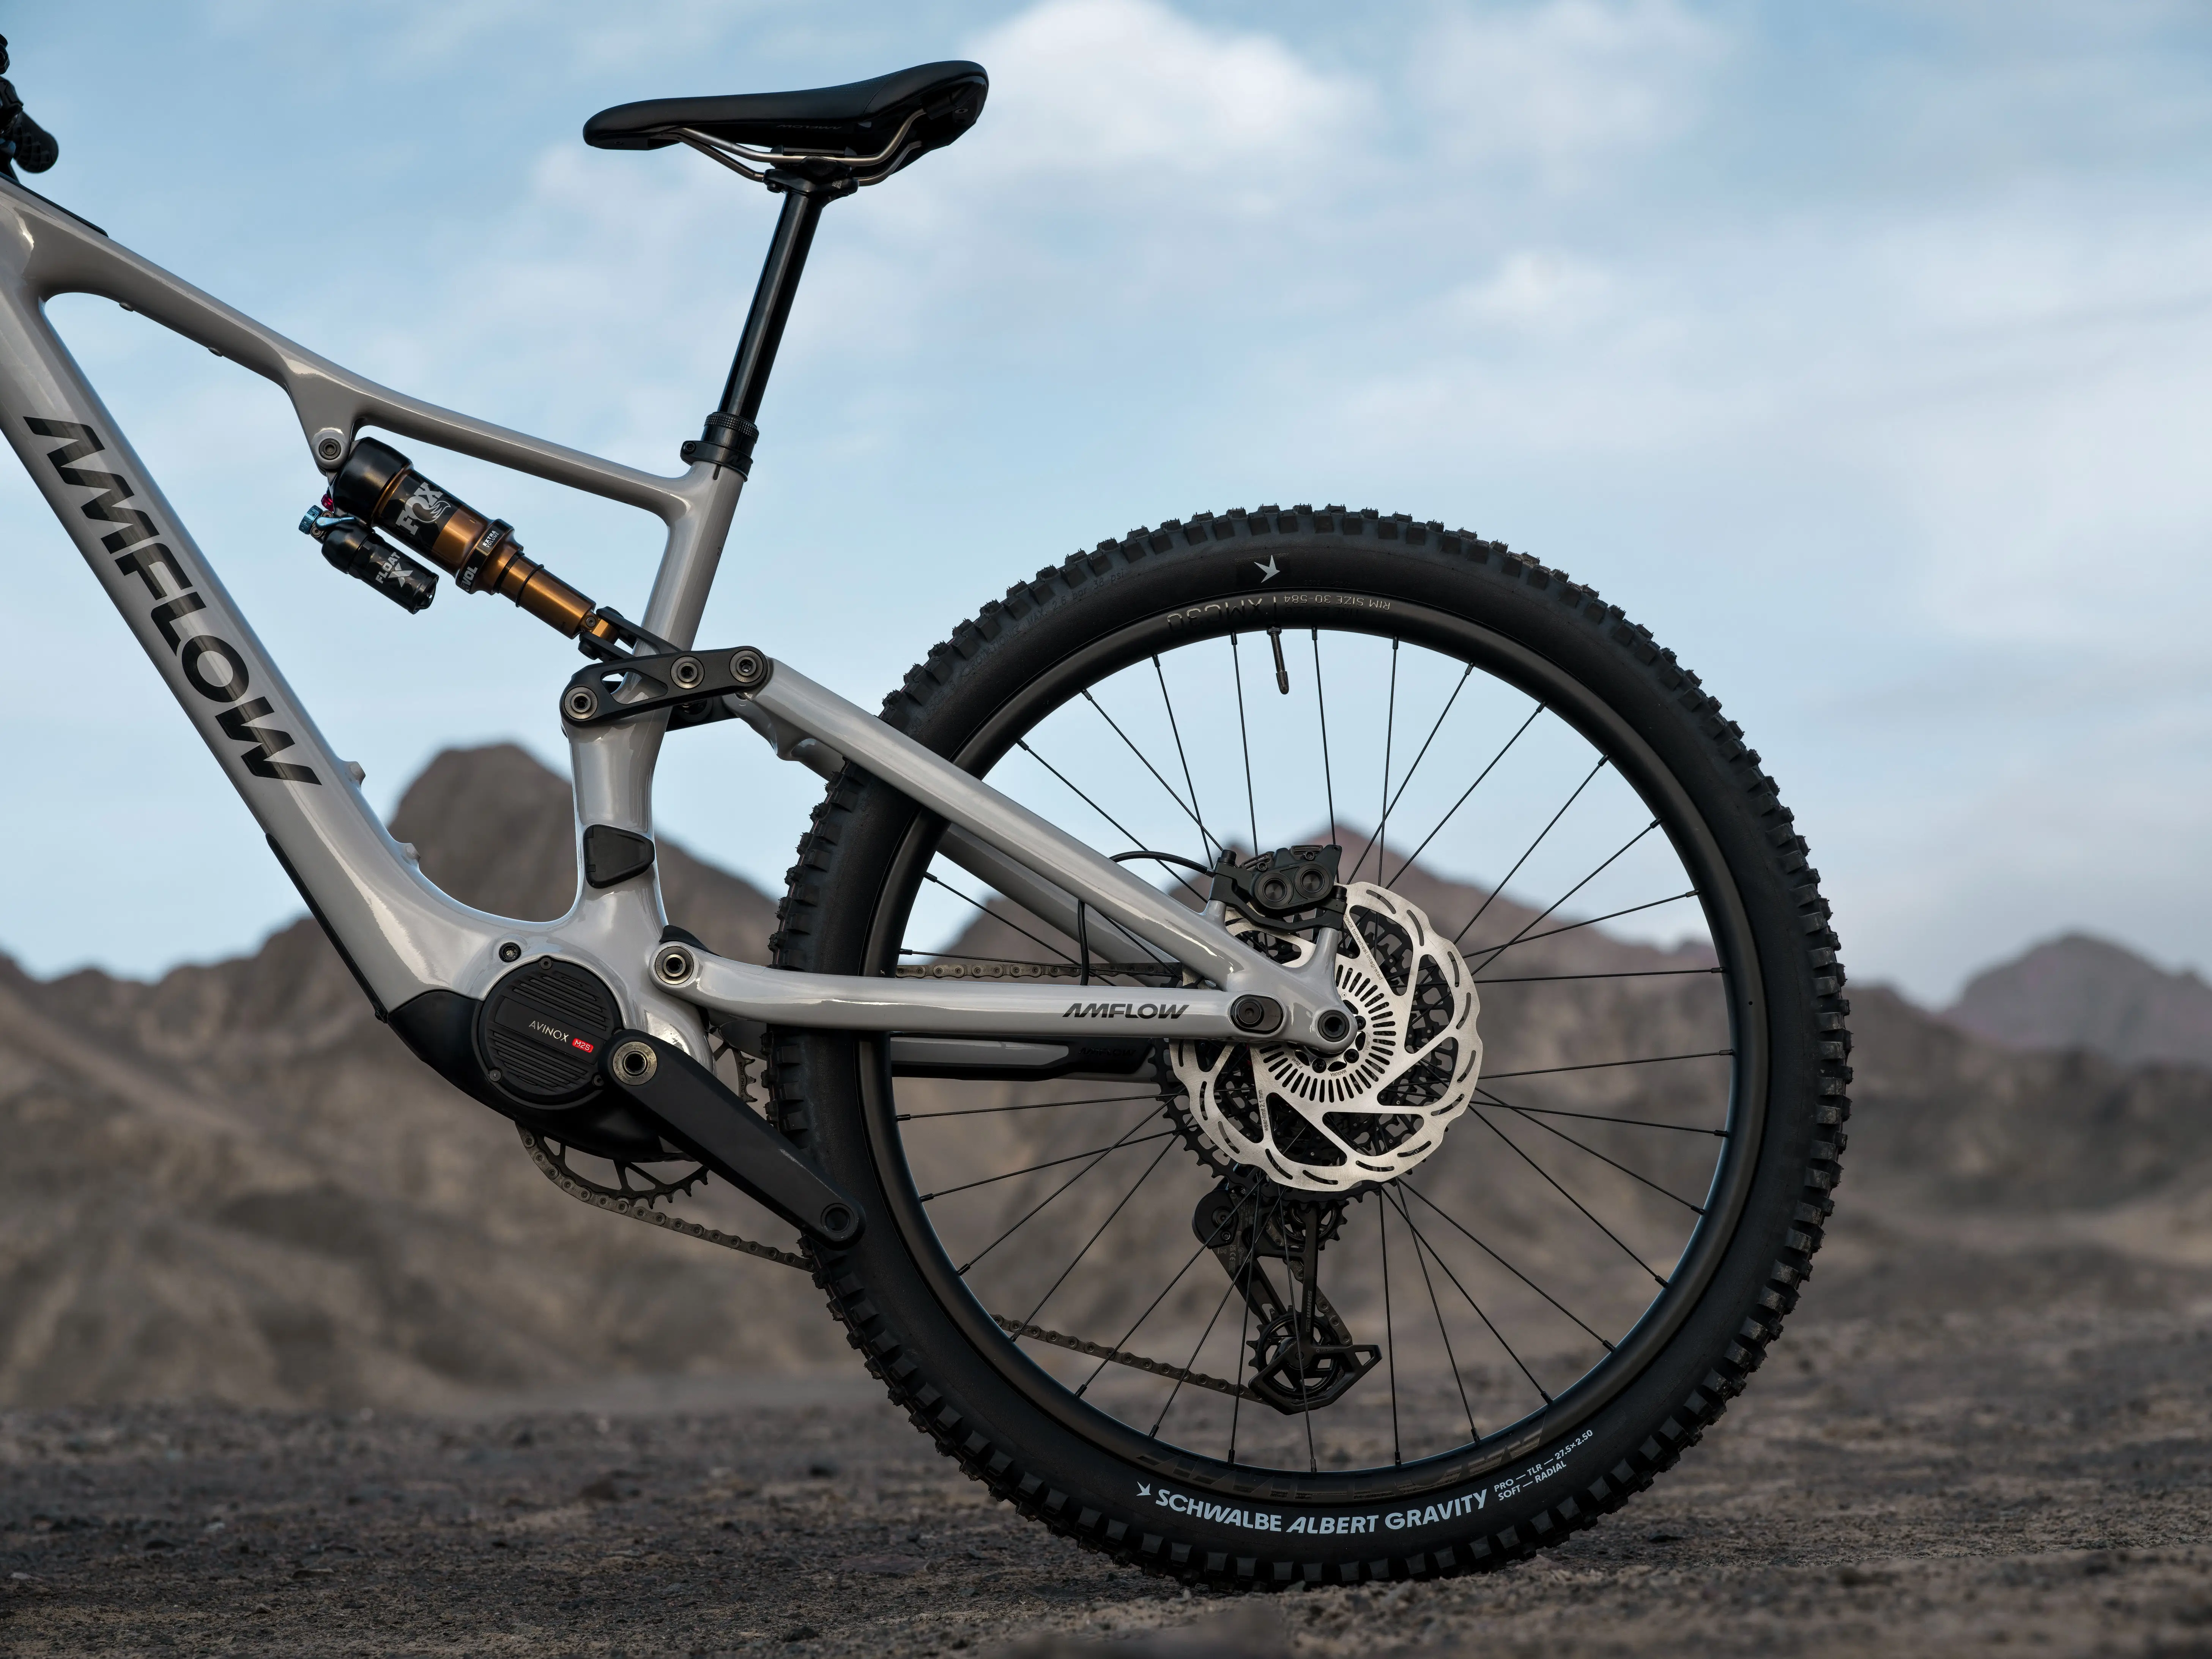
Record Your Current Saddle Position
Write down where you're starting before you touch a bolt. It's the quickest way back if a change turns out worse. Three numbers cover it:
- Saddle height, measured from the centre of the bottom bracket to the middle of the saddle top in a straight line along the seat tube, to the nearest millimetre.
- Rail position, read off the graduations stamped on the rails or marked with a strip of tape.
- Tilt, taken with a level app and a straight edge or your phone laid across the saddle, since the humps and dips in the shell make the nose look higher or lower than it is.
You'll need riding shoes, a tape measure, a level app and a torque wrench if you have one. Two limits apply throughout: keep the seatpost above its minimum insertion mark, and keep the rail clamp inside the clamping zone marked on the rails. Torque figures are printed on the clamp, post or frame, and they matter most with carbon rails or a carbon frame. Check the bolts again after your first ride.
Set Saddle Height First
Height comes first because it moves everything else.
Start with the dropper fully extended, since that's the position you pedal in. The heel method gets you close in a couple of minutes. Sit on the bike with something to lean on, put your heel on the pedal, and turn the cranks so that foot is at the bottom of the stroke. Your leg should be straight with your hips level, no tipping to reach. Move your foot back so the ball sits over the axle and you'll have a slight bend in the knee. If you'd rather start from a number, the LeMond method multiplies your inseam in millimetres by 0.883 to give the distance from the bottom bracket centre to the top of the saddle. Both come from road fitting, so treat either as a first guess.
The symptoms point the way from there. Rocking hips, a stretch to reach the bottom of the stroke or pointed toes mean the saddle is too high, and you'll often feel that behind the knee. A cramped feeling, all the work coming from your quads, or an ache at the front of the knee usually means it's too low. Move 3 to 5 mm at a time.
Two eMTB details change the measurement itself. On a full-suspension bike rear suspension sag occurs when you sit on it, which drops the saddle slightly and rotates it back relative to the bottom bracket, so a figure measured in a stand flatters you a little. Measure with your weight on the bike if you can. Crank length is the other one. Many eMTBs run shorter cranks to keep the pedals clear of rocks, and if you swap cranks your saddle needs to move by the same amount in the same direction to keep your leg extension where it was.
Short seat tubes and long droppers bring one more snag. If the post won't extend far enough to reach your height, you've run out of post rather than adjustment, which is a post length or frame size question.
Dropper travel is the other half of that question, and it moves with frame size. Amflow PX Carbon runs 190 mm on M and L, 210 mm on XL and 230 mm on XXL, so the size that fits your legs comes with the drop that suits the frame. Seat tube height is listed size by size on the PX Carbon spec sheet too.
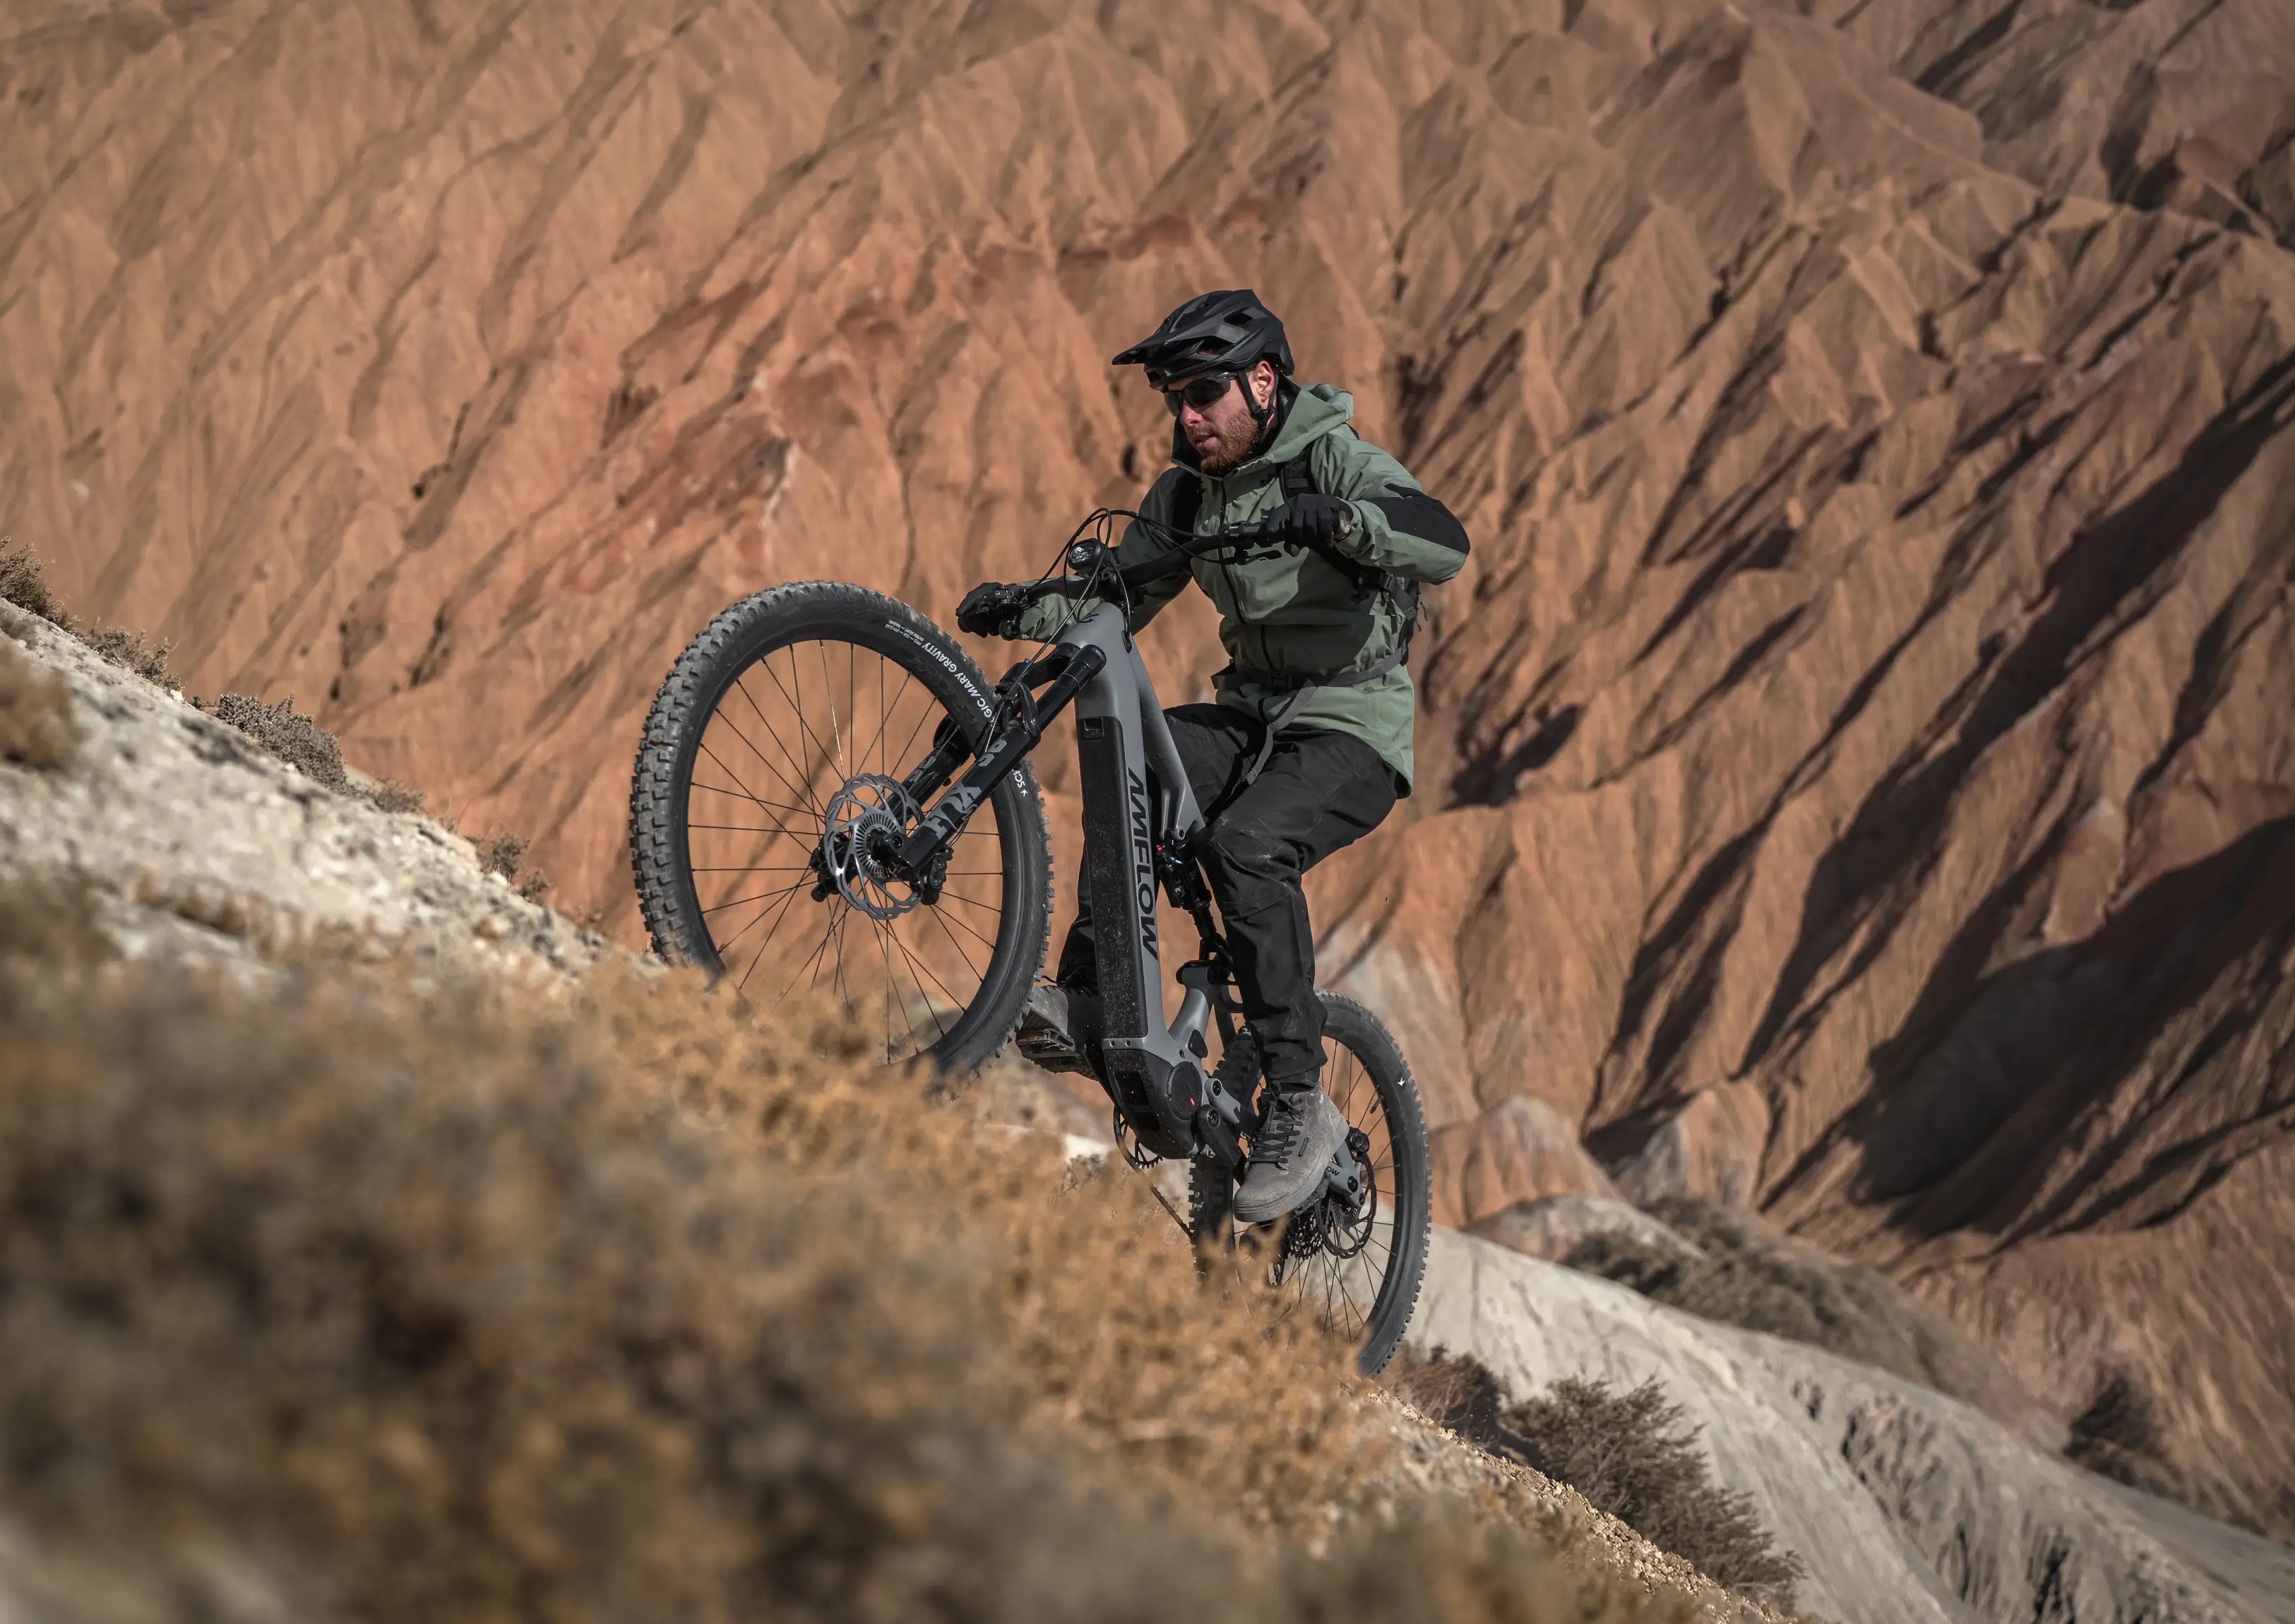
Then Set Fore-Aft and Re-check Height
Fore-aft decides where your hips sit relative to the bottom bracket, and on a climb that decides how much weight stays on the front wheel.
Start with the classic reference. Turn the cranks level, sit on the bike in your normal riding position, and drop a plumb line from the front of your forward kneecap; it should fall roughly through the pedal axle. That's a starting point, not a verdict, since it says nothing about your limb proportions or how you sit on a steep pitch.
The two adjustments then feed into each other, because the rails run roughly horizontal while the seat tube leans back. On a 76 degree seat tube, raising the saddle 10 mm carries it about 2.5 mm further back, and sliding it 10 mm forward on the rails shortens the distance to the bottom bracket by about the same. Move the saddle forward and you've just lowered yourself, so re-measure your height after every fore-aft change and put back whatever you lost.
This bites harder on an eMTB. The steep seat tube angles quoted in a geometry chart apply at one saddle height, so tall riders with a lot of post showing sit further back than the number suggests, and rear sag slackens the angle again the moment you sit down. If you keep sliding forward on climbs and perching on the nose, you're behind where you want to be.
Both extremes cost you. Too far back and the front wheel goes light and wanders on steep pitches, so you end up hauling on the bars. Too far forward and you take weight off the rear tyre just as a loose climb needs traction, and you'll feel the stretch in your shoulders. Aim for the spot where you can hold a steep gradient seated without shuffling. If the reach to the bars feels wrong, adjust the cockpit fit.
The frame decides how much of that you have to chase. Amflow PX Carbon holds an effective seat tube angle of 78 degrees through M, L and XL and 77.7 degrees on XXL, so a taller rider's hips sit over the bottom bracket from the start, with weight already where it keeps the front wheel tracking on a long climb.
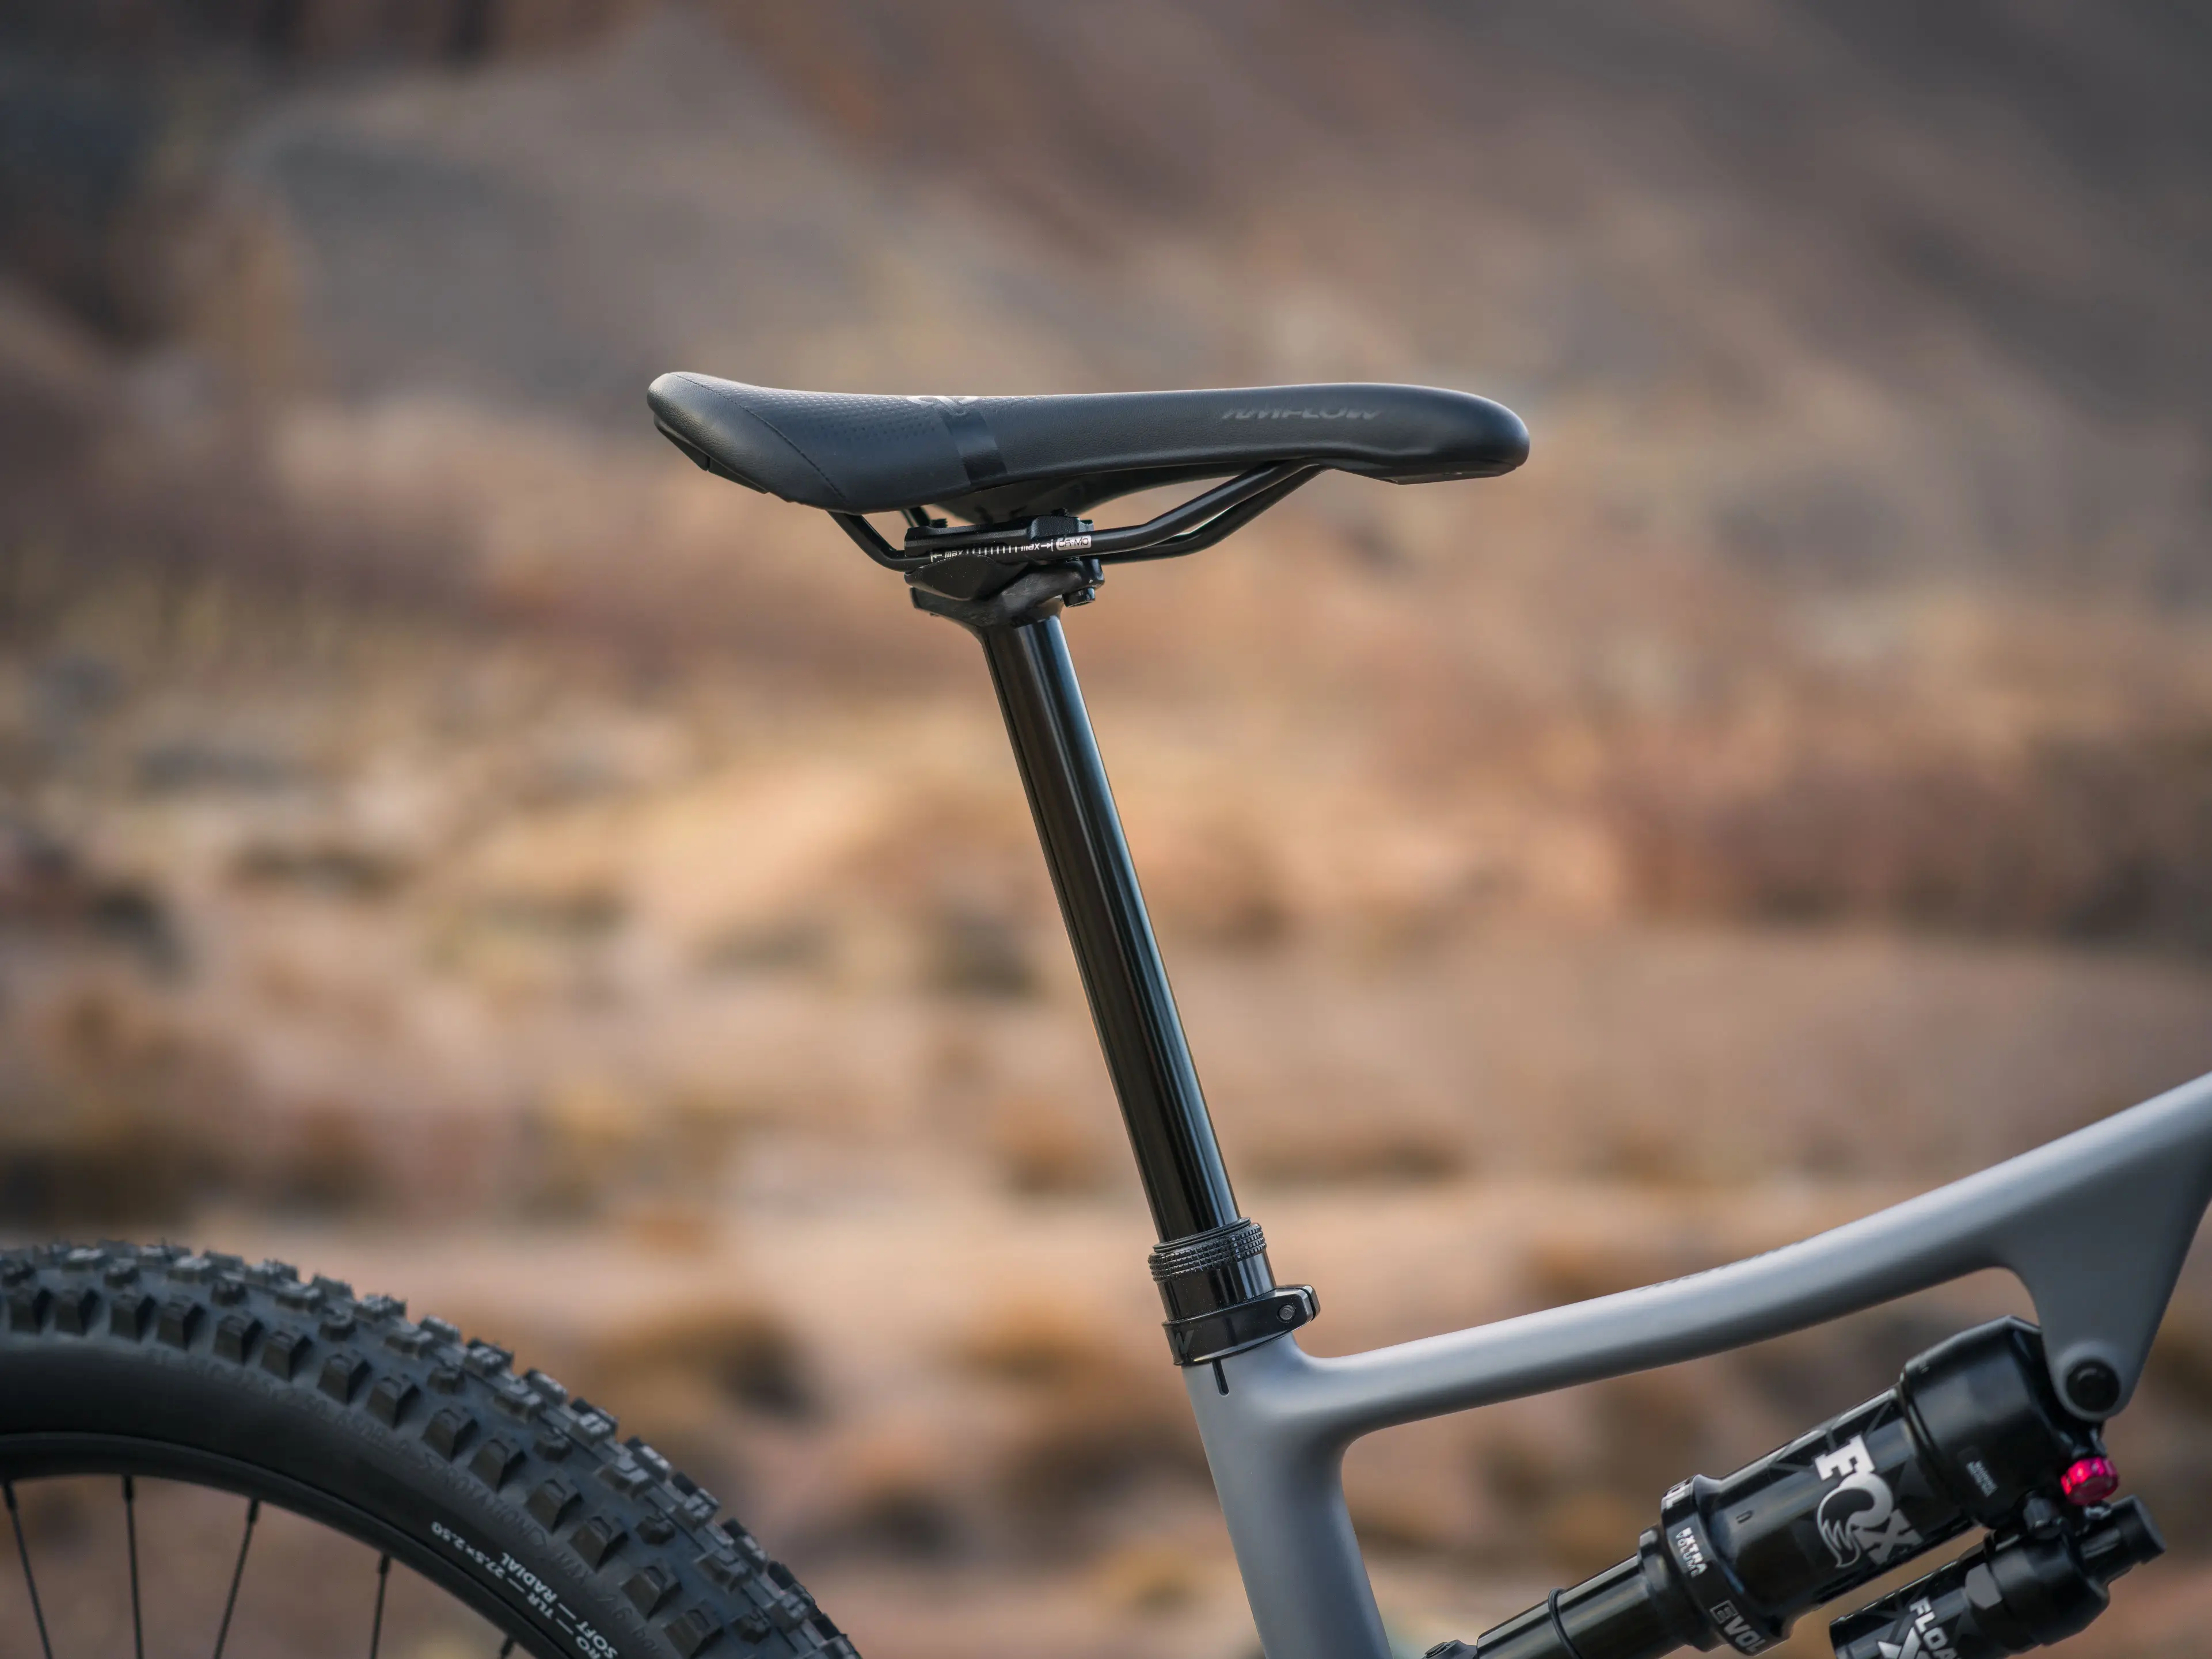
Getting Saddle Tilt Right for Long Climbs
Start level and adjust from there. A degree changes the pressure under you far more than the number suggests, so move in single degrees and ride each one.
Tilt is the setting that can't suit every gradient at once. Climb something steep and the whole bike pitches nose-up by the angle of the slope, which dwarfs any tilt you'd dial in. A saddle that sits level in the garage effectively points uphill on a 15% climb, and gravity nudges you towards the back of it while you're trying to stay forward to keep the front wheel down.
A degree or two of nose-down cancels part of that on the climb, at a cost on flatter ground, where it slides you towards the narrow part of the shell and puts weight through your hands. Nose-up feels more stable under you on the climb and turns into pressure on soft tissue once the ground flattens out.
Since most of your seated time on an eMTB is uphill, make the final call on a climb and let the flat sections set your limit. Numb hands or constant pushing back off the nose on easy ground means you've gone too far down; pressure on soft tissue means the nose is too high.
Test the Setup on a Climb You Know
Judge the position on a repeatable climb that keeps you seated for ten minutes or more. A quick spin around the car park hides everything that matters.
Change one setting per ride so you can tell what helped. Effort needs to match as well. On an Amflow, pair a heart rate monitor and the Avinox Ride app will hold you in a target zone, adjusting assistance to suit, so two runs up the same climb cost you about the same and the difference you feel comes from the saddle.
You're done when all of these hold on that climb:
- Your hips stay planted, with no rocking side to side and no shuffling forward every few metres.
- The front wheel stays down on the steep sections without you pulling on the bars.
- Your hands rest on the grips instead of carrying weight.
- Your knees feel the same at the end of the climb as at the start.
- Nothing has gone numb.
Give a new position a few rides before judging it, then write the numbers down again. New shoes, pedals, cranks or a different saddle all change the maths, and your old figures save you starting from scratch.
Common Saddle Problems and What to Change
Most discomfort traces back to one of the three settings, and the symptom usually names the culprit. Try the first change in this table, then re-test on the same climb.
| What you're feeling | Most likely cause | What to change first |
|---|---|---|
| Hips rocking side to side | Saddle too high | Drop it 3 to 5 mm |
| Ache at the front of the knee | Saddle too low or too far forward | Raise it a few mm, then re-check fore-aft |
| Ache behind the knee | Saddle too high or too far back | Lower it slightly and move it forward |
| Sliding onto the nose on flat ground, weight on your hands | Nose tilted too far down | Level the saddle, then adjust in single degrees |
| Pressure on soft tissue | Nose tilted up, or a saddle shape that doesn't suit you | Level the nose first, then look at the saddle |
| Front wheel wandering on steep climbs | Weight too far back | Move the saddle forward a few mm |
Position is the likely answer when the problem is symmetrical and turns up at the same point in the pedal stroke every time. When only one side hurts, or careful adjustment changes nothing, you're looking at cleat position, a leg length difference, or a saddle whose width and shape don't suit how you sit, and a professional bike fit will get there faster than another evening of guessing. Persistent numbness is worth getting checked by a doctor as well.
Frequently Asked Questions
Should my saddle be lower on an eMTB than on my normal mountain bike?
Not for pedalling. The leg extension that suits you doesn't change because the bike has a motor, so your climbing height should be effectively the same on both. Some riders settle a few millimetres lower on a heavier bike because it feels easier to move around underneath them, though that's a preference and not a rule.
Should my saddle be higher than my handlebars on an eMTB?
Usually yes at full pedalling height, and that's an outcome of your leg length and the frame, not a number to aim for. What matters is how the gap feels on a long seated climb. A big drop from saddle to bar loads your hands and pulls your chest down, while a very small drop leaves the front wheel light on steep pitches. Change it at the cockpit with spacers, stem rise or a higher rise bar, and leave your saddle height where your legs want it.
Should I be able to put a foot down while sitting on the saddle?
No, and chasing that will leave your saddle too low to pedal properly. At a correct pedalling height you'll need to come forward off the saddle to reach the ground. On an eMTB the dropper post handles that, so set your height for the climb and drop the post when you want your feet down.
Do I need to reset my saddle after fitting a new dropper post?
Yes, treat it as a fresh setup. A different post changes the stack height under the saddle rails and often the clamp offset too, so your old measurement won't land in the same place. Measure from the bottom bracket with the post fully extended, match your recorded number, then check the rail position and tilt before you ride.


